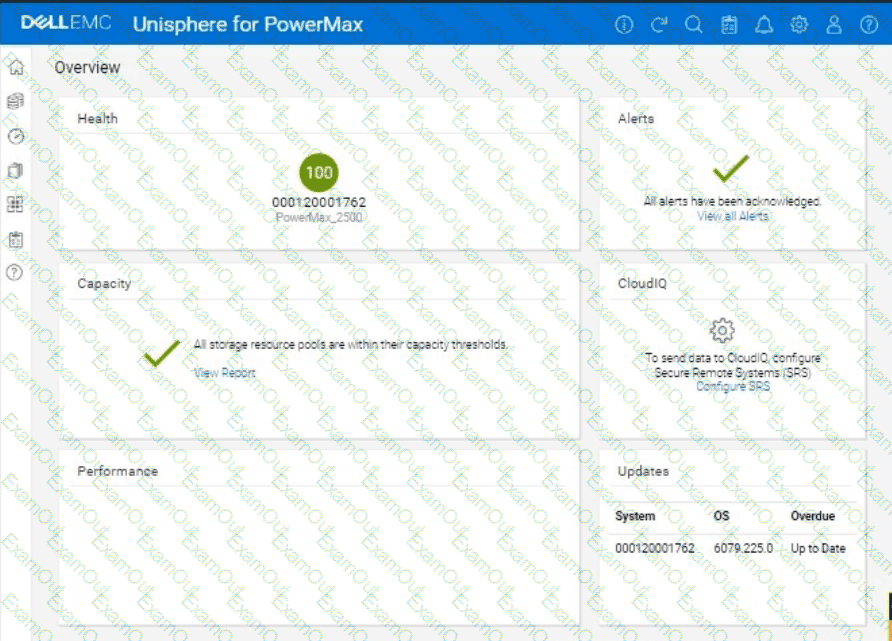
We need to provision 2 TB of storage to the ESXi1 host on a PowerMax array (SID 1762) using Unisphere, in a multi-tenant environment. We'll use auto-provisioning with the following specifics:
Storage Group Name:ESXi1_SG
Port Group:(A new port group with Directors OR-1C:0 and OR-2C:0)
Volume Size:2 TB (single volume)
Other Settings:Default
Here are the step-by-step instructions, tailored for the Unisphere simulator as described in the question:
Steps:
1. Launch the Simulator and Navigate to Storage Groups
Open Unisphere for PowerMax in your web browser.
You should already be logged in to the simulator, with the PowerMax array with SID 1762.
In the left-hand navigation pane, click onStorage>Storage Groups.
2. Initiate Storage Group Creation
Click theCreatebutton (likely a plus "+" icon) in the Storage Groups section to start the Create Storage Group wizard.
3. Name the Storage Group
In the "Create Storage Group" wizard:
Storage Group Name:Enter ESXi1_SG.
Enable FAST/Service Level:Do not check this option, as we are leaving all other settings at their default.
ClickNextorContinue(the exact wording might vary).
4. Add Volumes
Ensure"Create new volumes"is selected.
Number of Volumes:Enter 1.
Volume Size:
ClickNext.
5. Create the Port Group
You should now be on the "Connectivity" or "Host" step, where you will add a new port group.
Select "Create Port Group"
Port Group Name:Give the new port group a name. You can use something descriptive like "ESXi1_PG," or any name that follows your organization's naming conventions.
Select Ports:
Find and select the following Directors and ports from the list of available ports:
Note:The simulator may not allow you to highlight the exact director ports as in a production environment. It will likely display all directors and ports under the selected array. Just ensure they are selected as part of the port group.
ClickNext.
6. Add host to the Masking View
Select "Add Host"
Select "Create New Host"
Host Name:ESXi1
Initiators:You don't have specific initiators to add in this simulation, so you can skip this part or add any from the available options. This is because we are working within a simulated environment.
ClickNext
7. Review and Create
You'll be presented with a summary page that shows:
Carefully review all the settings to make sure they are correct.
ClickRun NoworFinish(or similar wording) to create the storage group, volume, port group, and masking view.
8. Verification (Optional)
After the operation completes, you can verify the results:
Go back to theStorage Groupslist. You should see the ESXi1_SG storage group.
Click on ESXi1_SG to view its details. You should see the 2 TB volume and the associated host (ESXi1) and port group.
You can also navigate toHosts>Port Groupsto verify that the new port group was created correctly.
Finally, you can navigate toHosts>Masking Viewsto verify that a masking view was created correctly.


